10 Steps Every Car Needs After Winter: A Professional Spring Detailing Guide
When the temperature finally climbs above freezing and the last patches of snow retreat from Wisconsin's parking lots and roadways, it is tempting to simply run your vehicle through a drive-through wash and call it done. Spring cleaning, however, demands considerably more from a vehicle that has spent months enduring road salt, sand, freezing temperatures, and corrosive grime. At Appleton Car Detailing, spring represents our busiest and most important season—because the decisions made now determine how a vehicle's finish holds up for the rest of the year.
Whether you are in the Upper Midwest dealing with months of heavy salt application, or in the Sun Belt where winter means dust accumulation and UV exposure, the following checklist addresses what professional detailers assess and correct during a thorough spring restoration.
Why Timing Matters
Every week that road salt remains bonded to a vehicle's undercarriage, wheel wells, and painted surfaces accelerates corrosion. Salt is hygroscopic—it attracts and retains moisture—meaning that even after the roads dry out, the salt clinging to your vehicle continues working against the metal beneath. Spring detailing is not merely cosmetic. It is preventative maintenance with measurable consequences for vehicle longevity.
Step 1: Pre-Rinse the Undercarriage and Wheel Wells
Before any soap touches the vehicle, a high-pressure rinse targeting the undercarriage, wheel arches, and lower body panels is essential. These areas accumulate the densest concentration of road salt and compacted debris. A standard garden hose lacks the pressure to dislodge this material effectively. Professional detailers use pressure washers calibrated to remove contaminants without damaging protective coatings or rubber components.
Regional note: For vehicles in the northern United States—Wisconsin, Minnesota, Michigan, and similar states—this step is non-negotiable. In southern states where road salt use is minimal, this rinse still removes sand, clay, and organic debris that accumulates during winter rain seasons.
Step 2: Full Exterior Wash Using the Two-Bucket Method
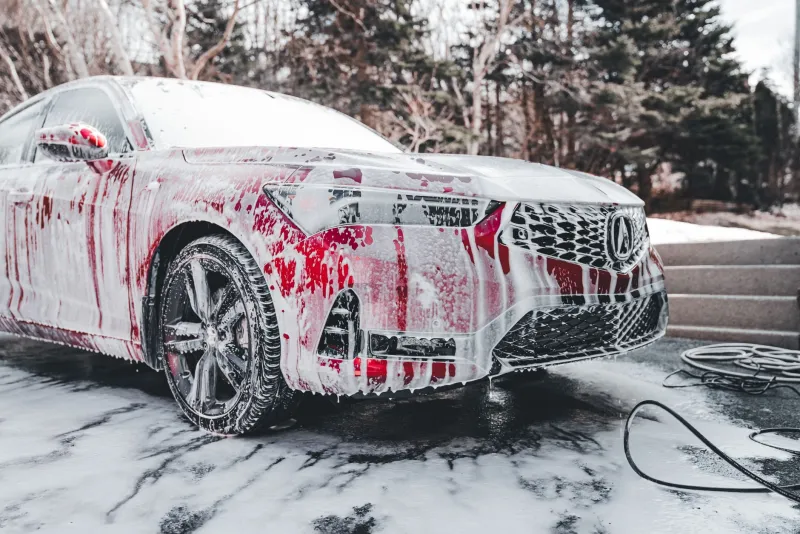
A thorough hand wash using a pH-neutral soap removes the surface layer of contamination. Professional detailers use the two-bucket method—one bucket for clean soapy water, one for rinsing the wash mitt—to prevent reintroducing abrasive particles to the paint surface. Working from the roof downward ensures dirty runoff does not contaminate already-cleaned sections.
Step 3: Iron Decontamination Treatment
One of the most overlooked steps in spring restoration, iron decontamination involves applying a specialized chemical spray that reacts with and dissolves metallic brake dust and iron particles embedded in the paint and wheels. These particles—invisible to the naked eye—oxidize and cause microscopic surface damage if left untreated. The reaction is visually dramatic: the spray turns purple as it bonds with iron deposits, confirming the contamination present.
Step 4: Clay Bar Treatment
Even after washing and iron decontamination, paint surfaces retain bonded contaminants that cannot be rinsed away. A clay bar—used with a lubricating detail spray—physically extracts these particles by gliding across the surface. The result is a noticeably smoother paint texture that allows subsequent sealants and coatings to bond more effectively. Professionals assess paint condition before claying to select the appropriate clay grade.
Step 5: Paint Inspection and Correction Assessment
With the surface fully decontaminated, a detailer can accurately evaluate the paint's condition under controlled lighting. Winter driving introduces swirl marks, fine scratches from ice scrapers, and oxidation from UV exposure during bright winter days—particularly in high-altitude regions like Colorado or the desert Southwest. This assessment determines whether single-stage polishing, multi-stage correction, or simply a protective sealant application is warranted.
Step 6: Machine Polishing for Paint Correction
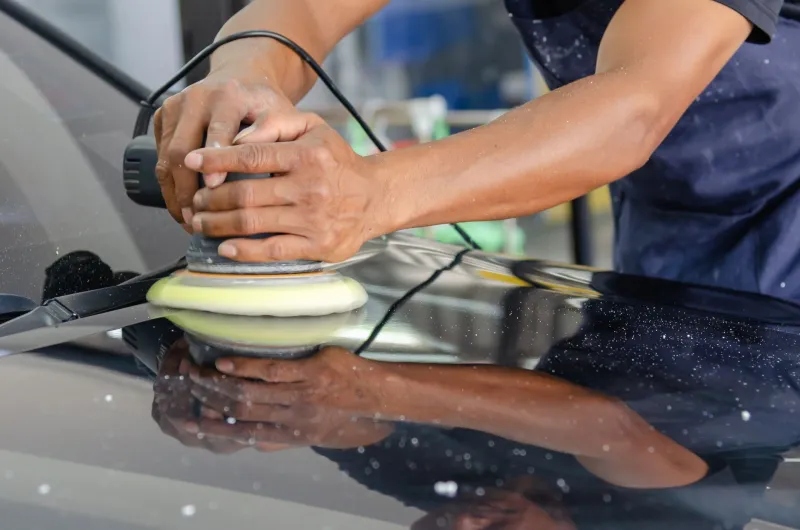
For vehicles displaying visible swirl marks, water spots, or light scratches, machine polishing restores clarity and depth to the finish. A dual-action polisher with appropriate compounds and pads removes a controlled amount of clear coat to level surface imperfections. This step requires training and precision—incorrect technique causes more damage than it corrects. Professional detailers match compound aggressiveness to paint hardness and defect severity.
Step 7: Paint Protection Application
Once the surface is corrected and clean, protection is applied. Options range from traditional carnauba waxes (which provide a warm visual depth but require reapplication every 2–3 months) to synthetic paint sealants (lasting 6–12 months) to professional-grade ceramic coatings (which bond semi-permanently to the clear coat and offer superior chemical and UV resistance for 2–5 years).
Spring is the ideal time to apply ceramic coatings because moderate temperatures—ideally between 60°F and 80°F—allow proper curing. Wisconsin's April and May weather provides exactly this window.
Step 8: Wheel and Tire Restoration
Wheels endure intense contamination from brake dust, road salt, and road tar. Each wheel should be cleaned individually using dedicated brushes for the barrel, face, and lug nut recesses. Tires benefit from a thorough scrub followed by a dressing that conditions the rubber and restores a clean, even appearance. Neglected tires develop surface cracking—known as dry rot—that is accelerated by winter UV exposure in southern climates.
Step 9: Interior Deep Clean and Deodorization
Winter interiors accumulate road salt tracked in on boots, moisture from wet clothing, and condensation that promotes mildew growth in carpet fibers and under floor mats. A professional spring interior service includes:
- Extraction shampooing of carpet and upholstery
- Steam cleaning of door jambs, vents, and crevices
- Leather conditioning to restore moisture lost to dry winter cabin heat
- Odor elimination using ozone treatment or enzyme-based deodorizers
- Glass cleaning to remove interior film buildup from off-gassing plastics
Step 10: Rubber Seal and Trim Conditioning
Door seals, window trim, and plastic moldings become brittle and faded after months of temperature extremes. A quality rubber conditioner restores flexibility to seals—preventing water intrusion and wind noise—while a UV-protective trim dressing revives faded plastics and prevents further oxidation throughout the warmer months ahead.
The Right Time to Act Is Now
Spring detailing is not a luxury reserved for enthusiasts with exotic vehicles. It is a practical, financially sound investment for any car owner who values their vehicle's condition and long-term worth. The damage winter inflicts compounds with time—salt corrosion does not pause while you consider your schedule.
At Appleton Car Detailing, our spring restoration packages are designed to address every element of this checklist with the precision and care your vehicle deserves. Showroom results are not an accident. They are the outcome of a methodical process executed by professionals who understand exactly what winter demands—and exactly what it takes to reverse it.