Reading Your Paint: A Step-by-Step Guide to Spotting Hidden Damage Before It Gets Worse
Most car owners give their vehicle a visual once-over in bright sunlight and consider it inspected. If it looks clean and reasonably shiny, they assume the paint is in good shape. What they are actually seeing, however, is a version of their car that flatters rather than reveals. Sunlight at midday is one of the worst conditions for identifying paint imperfections, which is precisely why so much damage goes undetected until it has progressed significantly.
Knowing how to properly read a vehicle's paint surface is a skill that pays dividends — it helps you understand the true condition of your car, make informed decisions about professional detailing services, and avoid the kind of compounding damage that turns a minor correction job into a major one. This guide walks through that process in practical terms.
Why Most Car Owners Miss the Damage Entirely
Paint imperfections are not always obvious. Swirl marks, for instance, are fine circular scratches typically created by improper washing technique — using dirty sponges, low-quality microfiber cloths, or automatic car washes with abrasive brushes. Under direct overhead sunlight, these marks can be nearly invisible. Under a single artificial light source positioned at an angle, they become unmistakable, spreading across the paint surface like a spider's web.
Holograms are a different category of imperfection, often caused by incorrect machine polishing technique or the use of a rotary polisher at excessive speed. They appear as ghost-like patterns that shift as the viewing angle changes — an ironic outcome for a process intended to improve the paint's appearance.
Water spots, meanwhile, result from mineral deposits left behind when water evaporates on a paint surface. Depending on how long they have been present and whether the paint was already compromised, they can range from a light film to etched marks that penetrate the clear coat itself.
All three types of damage share one characteristic: they are best revealed by strategic lighting, not casual observation.
The Right Way to Inspect Your Vehicle's Paint
Step One: Choose the Correct Environment
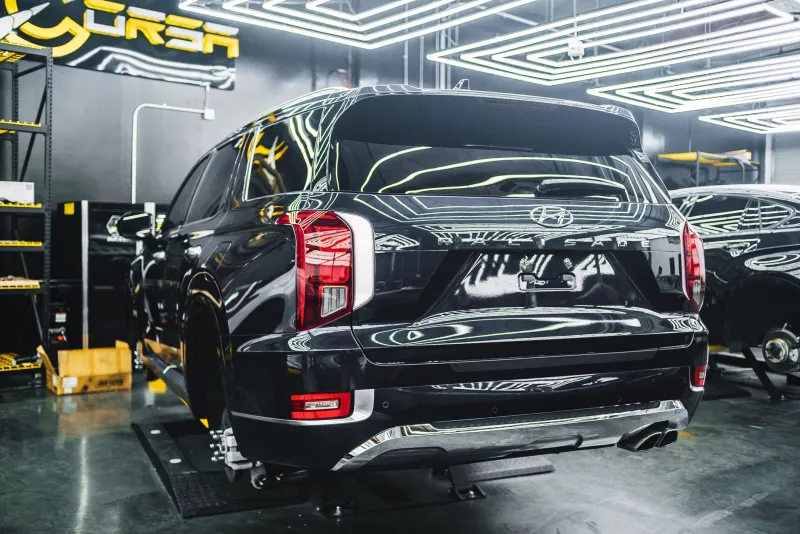
Begin your inspection in a shaded area — a garage with overhead fluorescent lighting is ideal, but a covered parking structure or even the shaded side of a building on an overcast day will work. The goal is to eliminate the scattering effect of direct sunlight, which washes out surface imperfections.
Alternatively, inspect the vehicle at dusk or dawn using a single, focused artificial light source. A shop light, a strong LED flashlight, or even a phone flashlight held at a low angle to the panel will dramatically reveal surface texture that is otherwise invisible.
Step Two: Use a Focused Light Source at a Raking Angle
Position your light source at a low, oblique angle to the panel you are inspecting — roughly 15 to 30 degrees from the surface. Move slowly and systematically across each panel. Swirl marks will appear as circular or arc-shaped scratches that catch the light. Holograms will present as repeating patterns or ghost images that seem to float just beneath the surface. Water spots will appear as circular outlines or, in more severe cases, as etched rings with a faint haze inside them.
This technique is standard practice in professional detailing shops and requires no specialized equipment to replicate at home. The difference in what you see compared to a quick outdoor inspection under full sun is frequently dramatic.
Step Three: Assess Each Panel Individually
Do not try to evaluate the entire vehicle at once. Work panel by panel — hood, roof, trunk, doors, and bumpers — noting the severity and distribution of imperfections. Horizontal surfaces, particularly the hood and roof, tend to accumulate the most water spot damage due to direct exposure to rain and sprinkler overspray. Door panels and lower body sections often reveal the heaviest swirl mark concentrations from improper washing.
Take note of whether the imperfections appear consistent across the vehicle or concentrated in specific areas. Localized damage may indicate a particular incident — a recent wash, a repair, or an area of the car that receives more exposure to a specific hazard.
Step Four: Differentiate Surface Contamination From Paint Damage
Not everything that looks like paint damage is paint damage. Run a clean fingertip lightly across a panel you suspect is damaged. If the surface feels rough or gritty, you may be dealing with surface contamination — bonded particles that sit on top of the clear coat rather than within it. This type of issue responds well to clay decontamination and does not necessarily require paint correction.
If the surface feels smooth but the imperfections remain visible under lighting, the damage is within the clear coat itself and will require polishing or compounding to address.
Understanding When Professional Correction Is Necessary
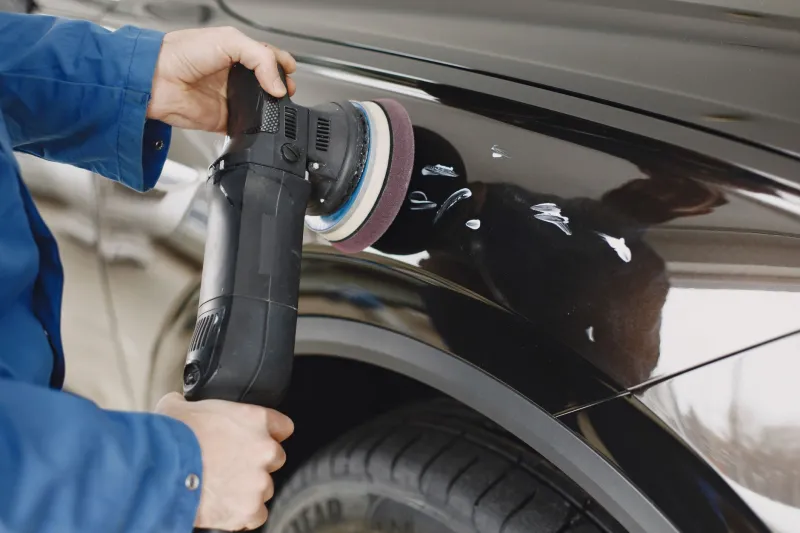
Light swirl marks in good-condition clear coat can sometimes be addressed with a fine finishing polish by an experienced hand. Moderate to heavy swirl marks, hologram patterns, and etched water spots, however, require machine polishing with the correct pad and compound combination — and the skill to execute it without removing more clear coat than necessary.
This is not a matter of caution for its own sake. Clear coat has finite thickness, and aggressive polishing without proper technique removes it permanently. A vehicle that has been over-polished by an untrained hand can end up with thin, uneven clear coat that is more vulnerable to future damage and, ultimately, more expensive to address.
For Appleton-area drivers, seasonal transitions are a particularly worthwhile time to perform this kind of inspection. Winter road treatments leave behind chemical residues that can accelerate water spot etching and surface oxidation, and catching that damage early in spring allows for correction before it deepens.
What You Are Actually Looking For
When you inspect your vehicle's paint under the right conditions for the first time, you may be surprised — or even discouraged — by what you find. That reaction is understandable, and it is also useful. Paint imperfections that are visible under a raking light are real, they are progressive, and they are far more manageable when addressed early.
At Appleton Car Detailing, thorough paint inspection is the starting point for every service we provide. Understanding what your car actually looks like — not what it looks like in a parking lot at noon — is the foundation of genuine, professional paint care.